The 8-Second Trick For Drywall Repair Columbia
Table of ContentsSome Known Details About Drywall Repair Columbia Some Of Drywall Repair ColumbiaRumored Buzz on Drywall Repair Columbia8 Easy Facts About Drywall Repair Columbia Explained
Smooth the tape with the 6-in. knife, taking out from the facility towards each end. Squeeze some, however not all, of the compound out from under the tape so you don't produce a huge bulge on the wall. Right away apply a light covering to the topside of the tape, tapering it out onto the wall surface.A thin coat is less complicated to sand, and you'll be less likely to remove too much while sanding and also expose the patch. For joint compound to appear flush with the wall surface near the damages website, "feather" the mud as you apply it.
— Cloud Links (@ldcloudlinks) January 26, 2023
After the very first round of sanding, add a 2nd layer of mud, spreading it concerning 2 inches past the boundaries of the first layer.
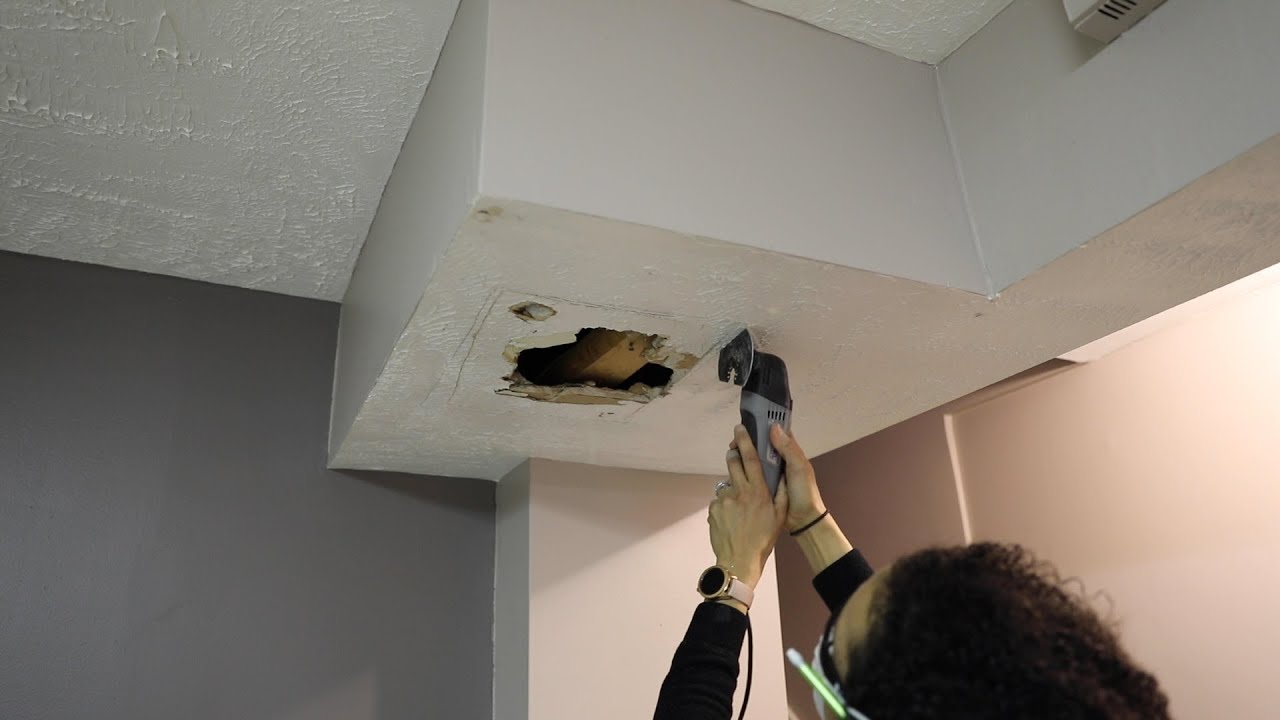
Most drywall fixing packages come with every little thing you require for wall surface repair work, consisting of the mesh, spackle, putty blade, as well as sandpaper. Begin by putting the patch over the hole, after that spread out joint substance over the patch and smooth around the sides. As soon as dry, sand till smooth. As a home resolves, its framing can turn.
The 15-Second Trick For Drywall Repair Columbia
:max_bytes(150000):strip_icc()/how-to-patch-drywall-gray-wall-aadf75af0f5d4ec19704a770bd84efc2.jpg)
Drive a drywall screw halfway into the facility of the strip. Setting the furring strip so that the drywall overlaps it on either side - Drywall Repair Columbia.
Drywall tape helps hold the joint compound in location, stopping it from sagging as it dries or breaking and also falling apart out of the joint over time. There are a number of designs of drywall tape you can use.
Run your hands over the repair to guarantee that it really feels smooth. With your temple versus the wall, look for humps that may need more fining sand. As soon as you're satisfied with the look and also feel of your patch task, prime as well as repaint the location.
Drywall Repair Columbia Can Be Fun For Anyone
, although you can purchase bigger patches independently. Make sure the opening you require to fix is little sufficient for these patches to cover before making use of one of these packages (Drywall Repair Columbia).
Touch up the wall paint. Tip: Learn More If it's been a while because the wall surface was last painted, you might require to paint the entire wall surface, not just the patched location, to guarantee the shade matches.
Distinctive drywall is a little bit a lot more difficult, but still pretty basic to repair. Sand your patch location smooth.
The 5-Second Trick For Drywall Repair Columbia
Shake the can and also spray the patch location in a circular movement 6-18 inches from the wall. Enable the textured substance to completely dry according to the producer's guidelines, after that prime as well as paint the surface.
It may appear counterproductive to reduce a larger hole in the wall surface, but it is the only method to obtain a strong, smooth finish in the end. To cut your hole, beginning by utilizing a stud finder to find the studs on either side of the damages and also location a level over the hole, straddling both studs.
Our house featured a layer of 3/8-inch drywall underneath the 1/2-inch drywall, probably as a means of bringing the surface of the go to these guys drywall bent on meet a plaster surface or existing drywall. To stay clear of buying and also cutting product to pad the stud as well as make up the difference, we left the 3/8-inch drywall on the studs as a spacer as well as placed the 1/2-inch drywall over top of it, just as we discovered it.
If you were to simply screw a patch to the studs on each end, your drywall mud would fracture quickly and the spot itself would never ever endure even the least hit. Since of this, it is clever to position a scrap piece of wood in the more helpful hints facility of your cutout and screw it in area using drywall screws through the existing drywall (Photo 1).